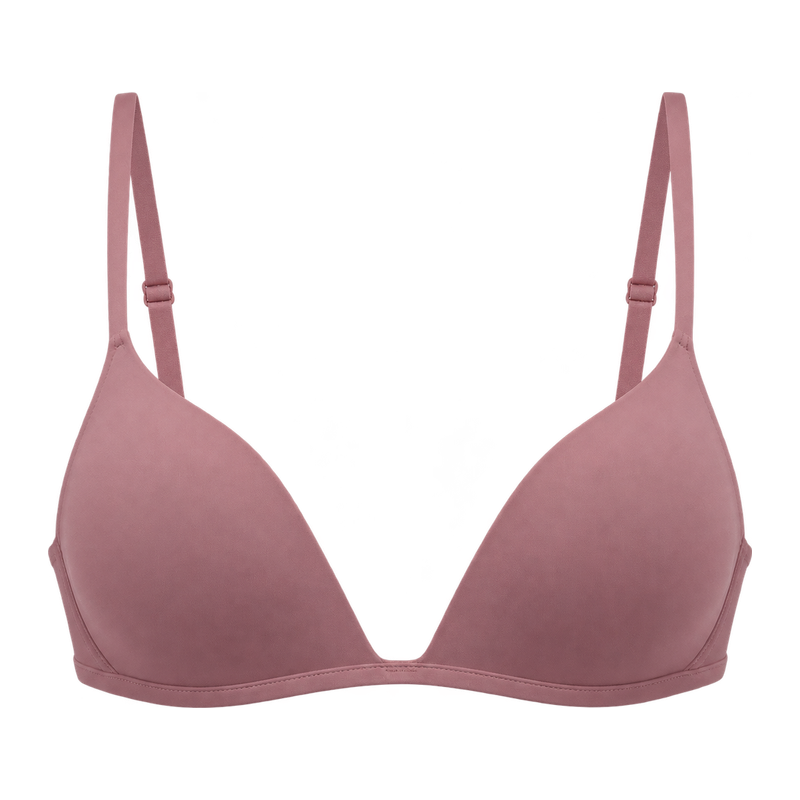
Style reference
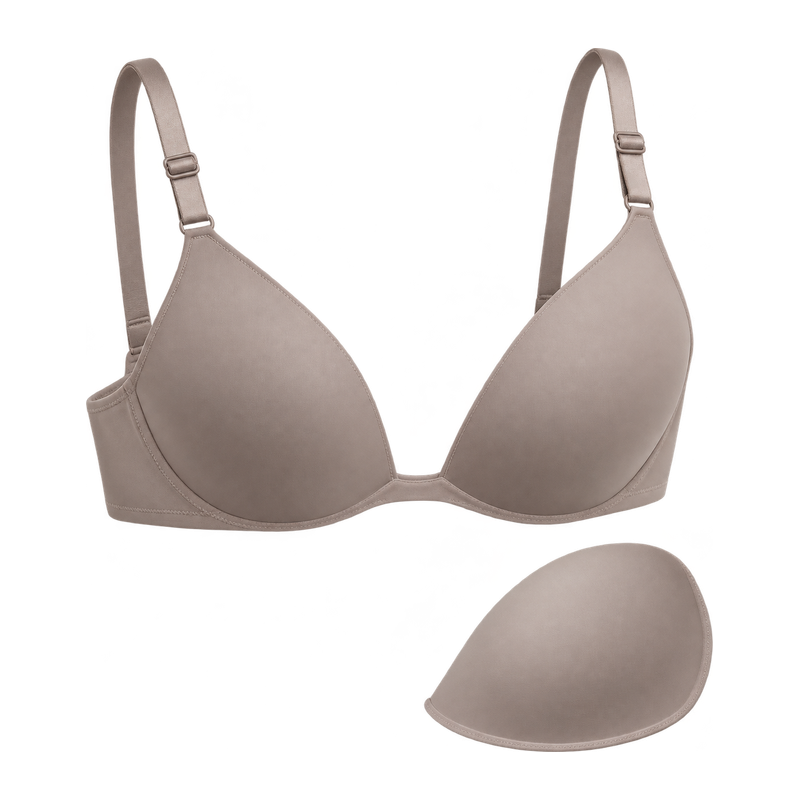
Smooth Face on a Padded Plunge Bra
If your range will be worn under fine jersey, start with this smooth reference. Use the sample to check whether its rim reads through your fabric.

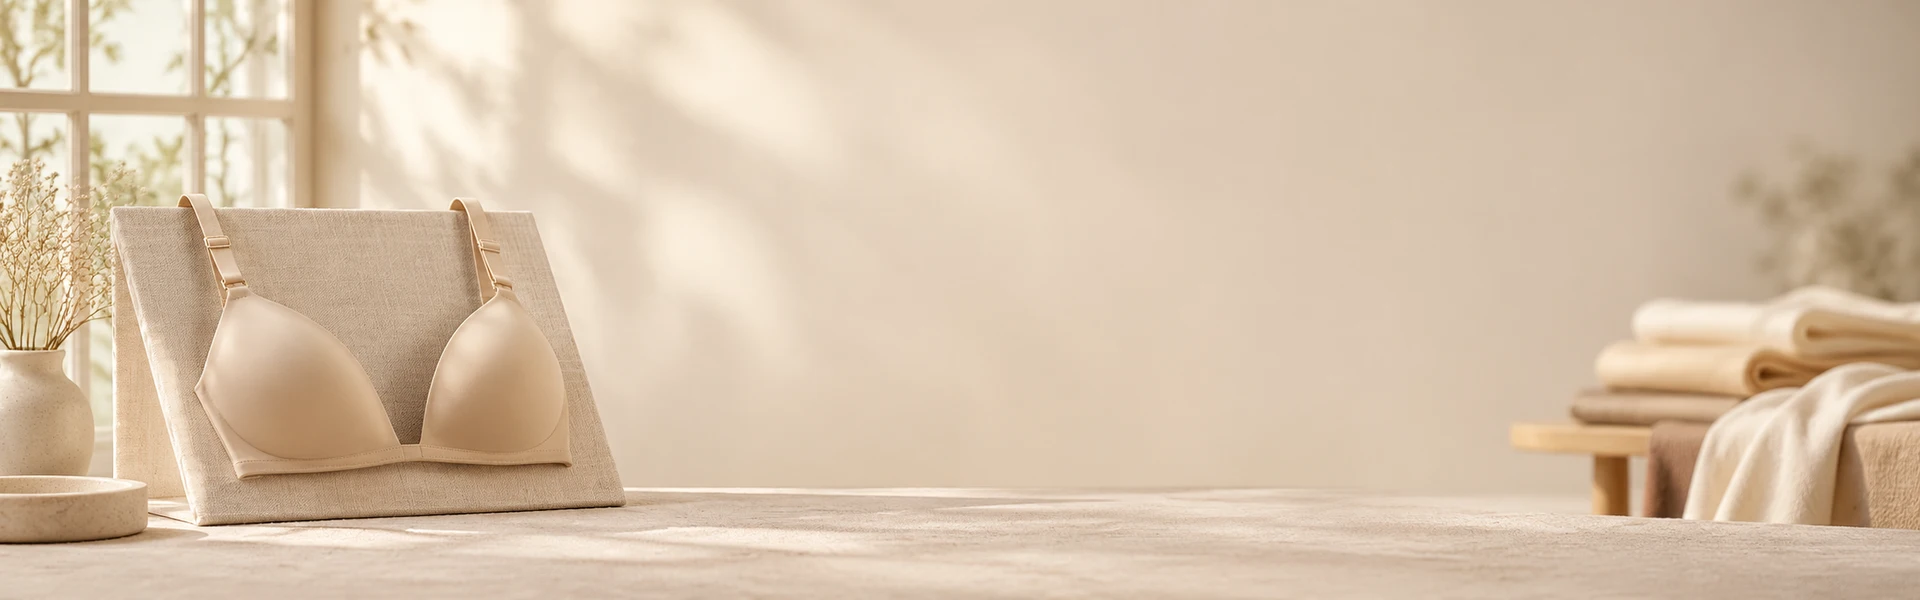
Use these illustrations to compare cup, padding and trim options. We’ll confirm sample availability and which details need custom development.
If your range will be worn under fine jersey, start with this smooth reference. Use the sample to check whether its rim reads through your fabric.
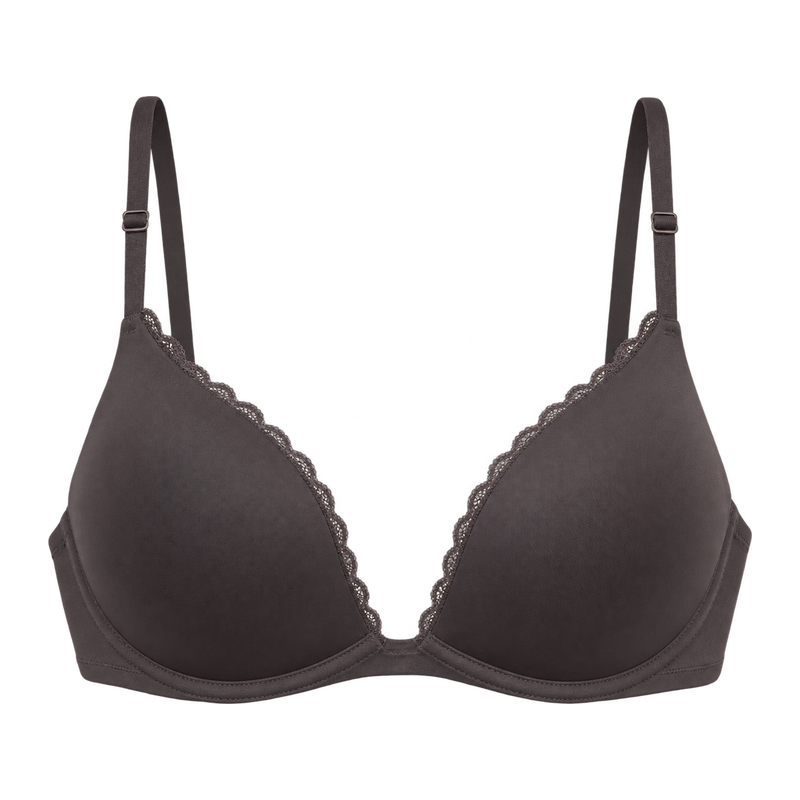
If you want lace as an accent, review where it sits on the cup. Check the trim at the neckline with the outer fabric you plan to use.
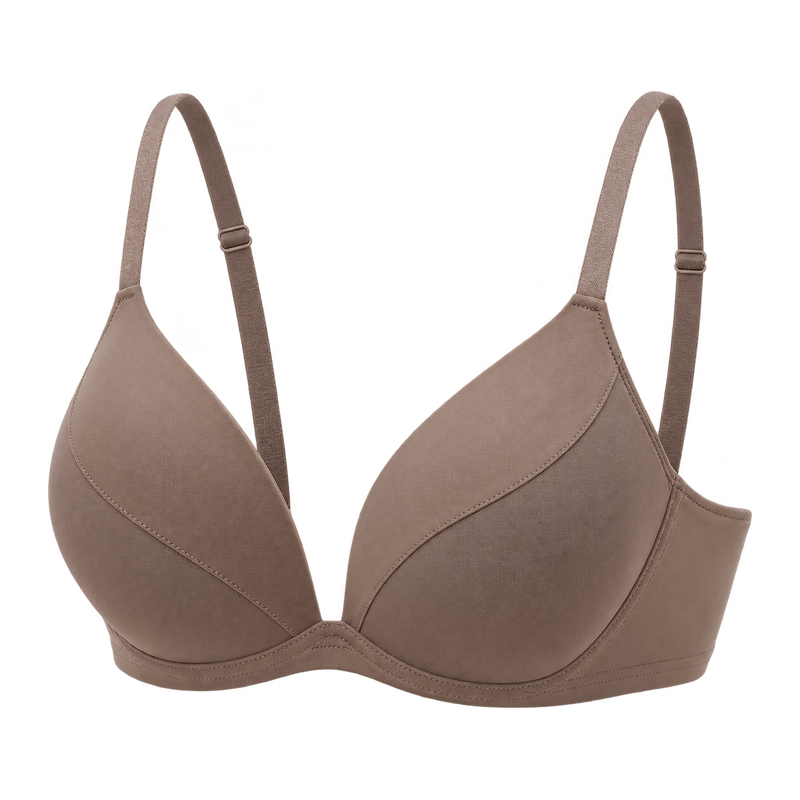
If you want to build the cup shape with sewn panels, review the seam position and profile in your base size. Check the join under your target fabric.
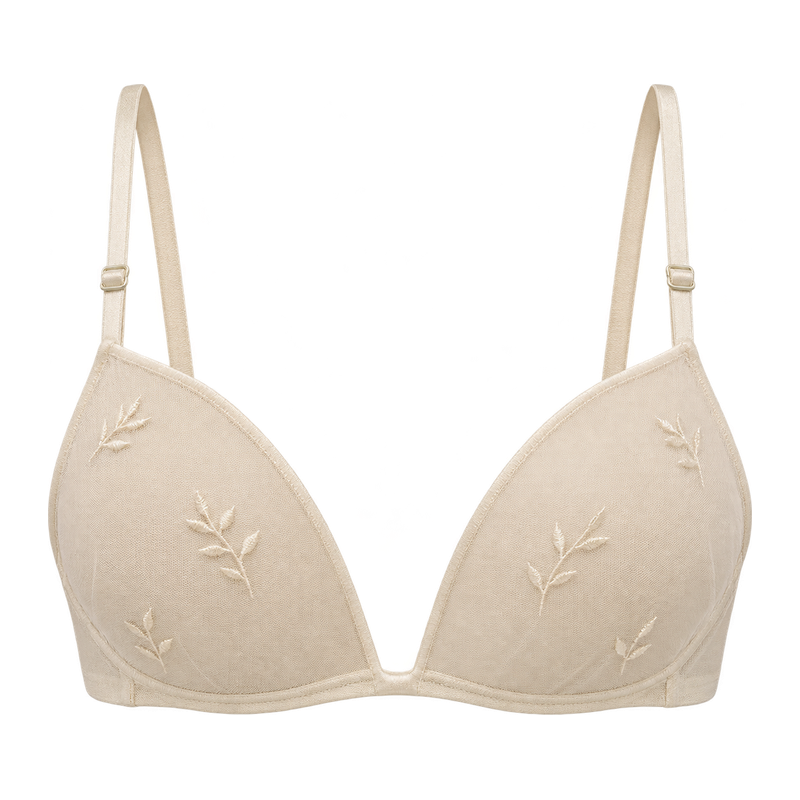
For an embroidered cup overlay, mark the motif position in your brief. Review how the embroidery sits at the rim and center front.
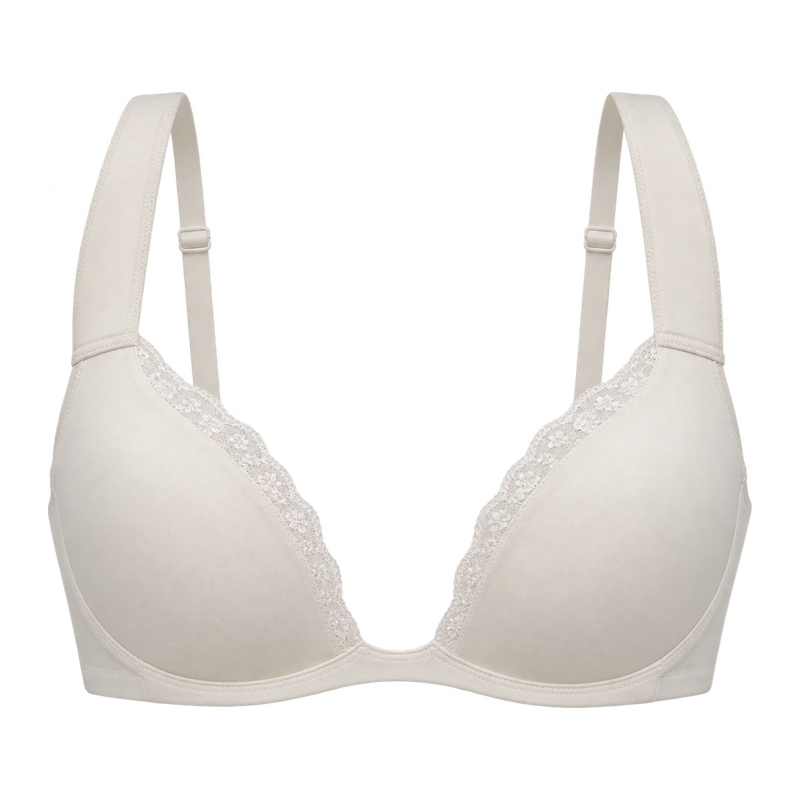
If strap feel matters for your range, compare the padded section’s width and thickness in fitting. Check where it meets the cup and adjuster.
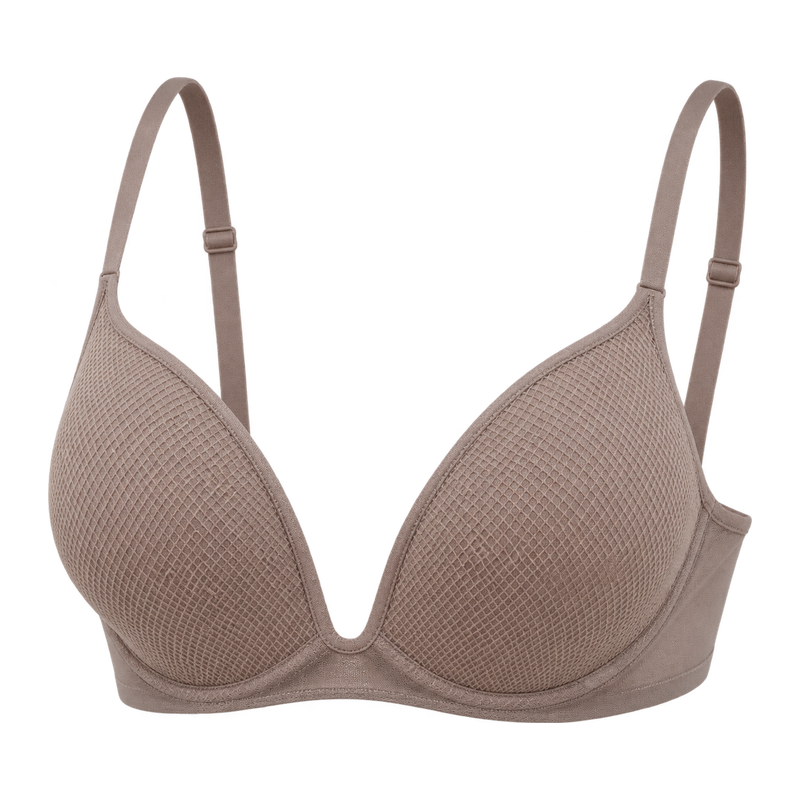
Choose how much give you want in the outer cup layer. Check that the mesh lies flat over the padding at rest and during fitting.
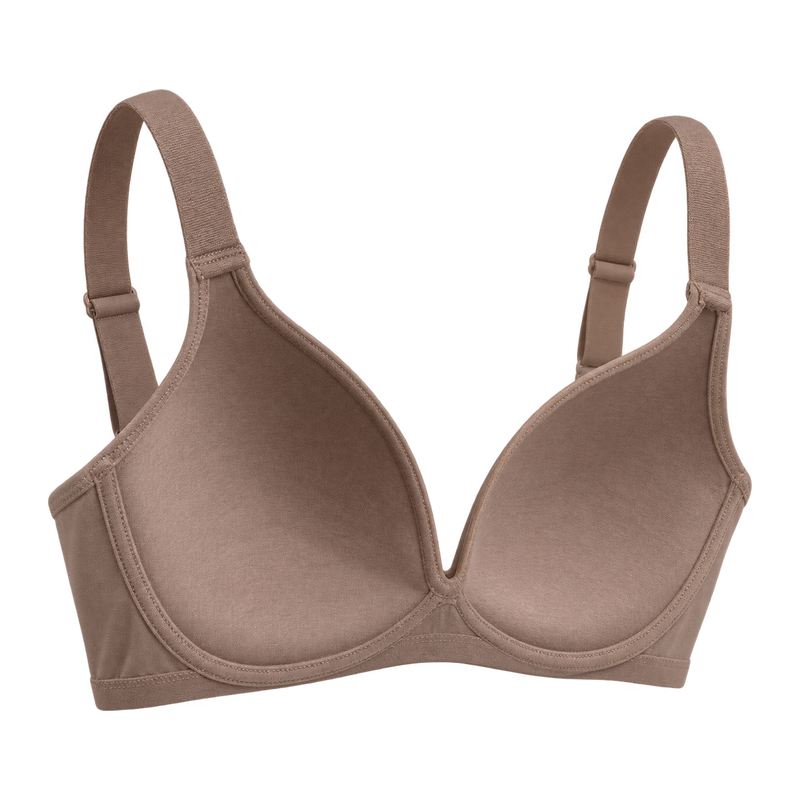
If you want a cotton-blend layer against the skin, specify its composition and stretch. Review whether the lining stays flat over the pad after washing.
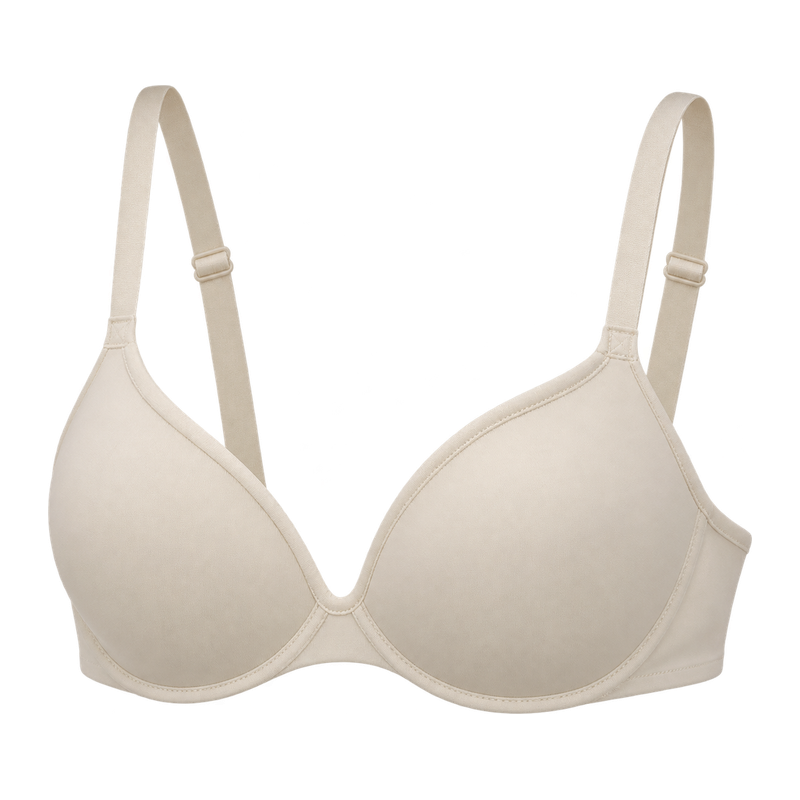
Ask for a binding sample if you want the cup edge enclosed. Compare the binding width and how the finished rim feels in fitting.
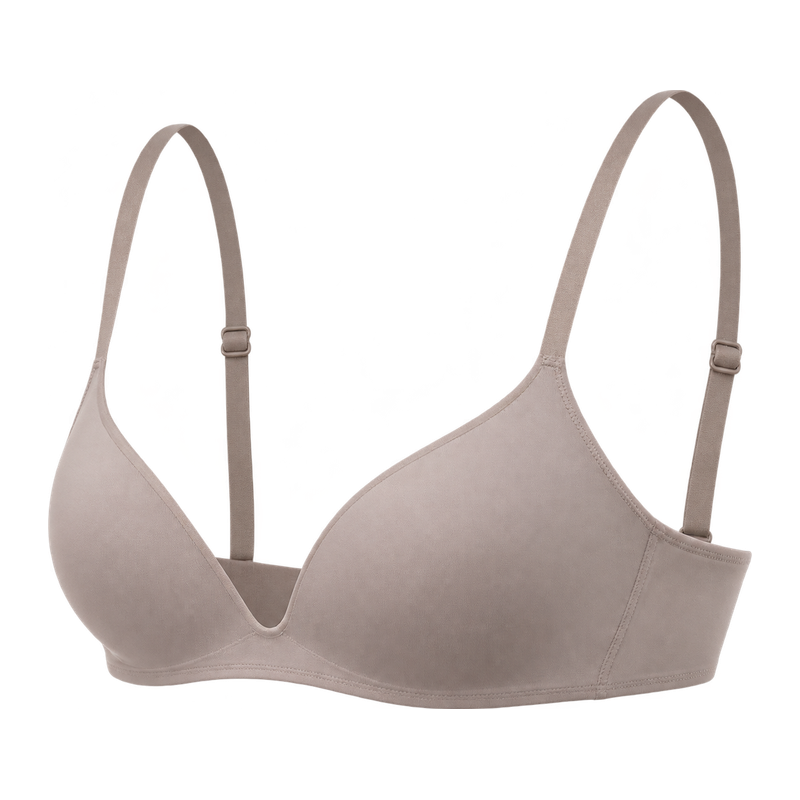
Set a thin foam profile and the coverage you need. Fit the sample under your fine knit to check the rim.
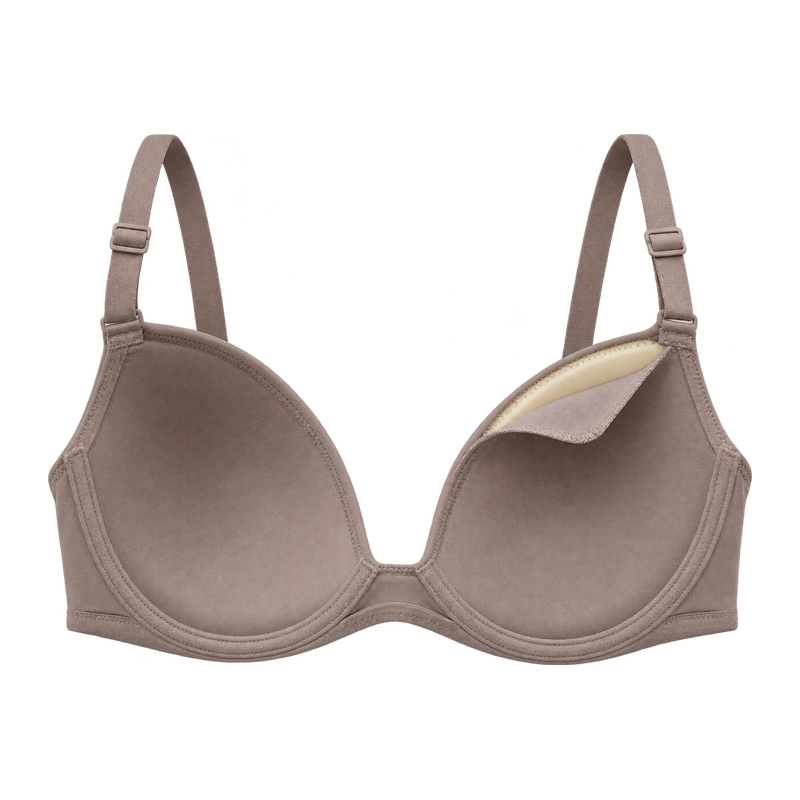
Consider a fixed foam layer if pad position matters in your care brief. Review the attachment and the rim on a sample.
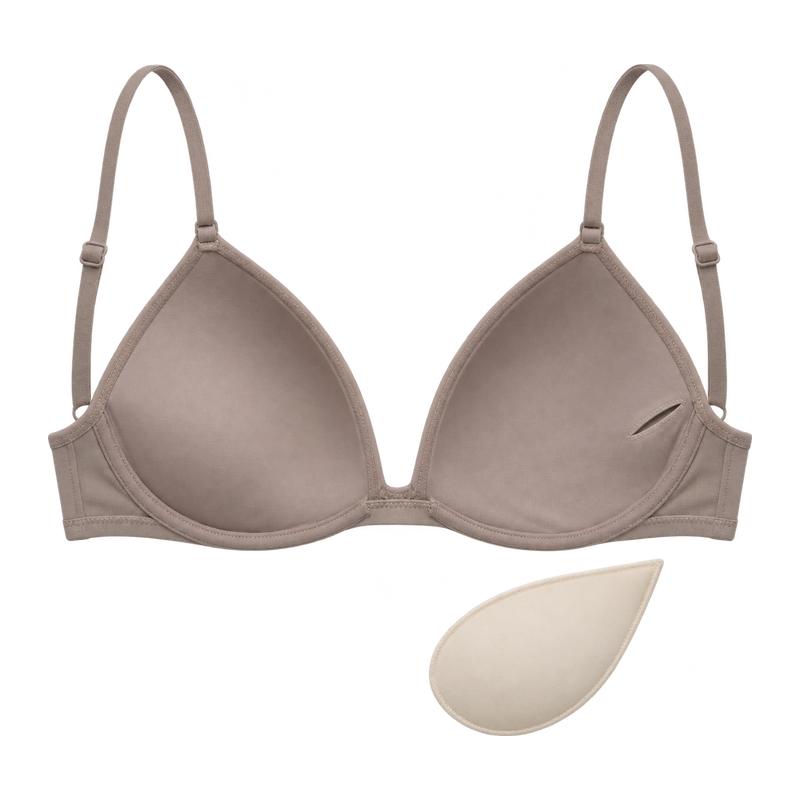
Review whether a pad pocket suits the cup. Compare coverage with the insert in and out during the same fitting.
Compare a shaped inner cup with the profile in your brief. Check how it recovers after packing.
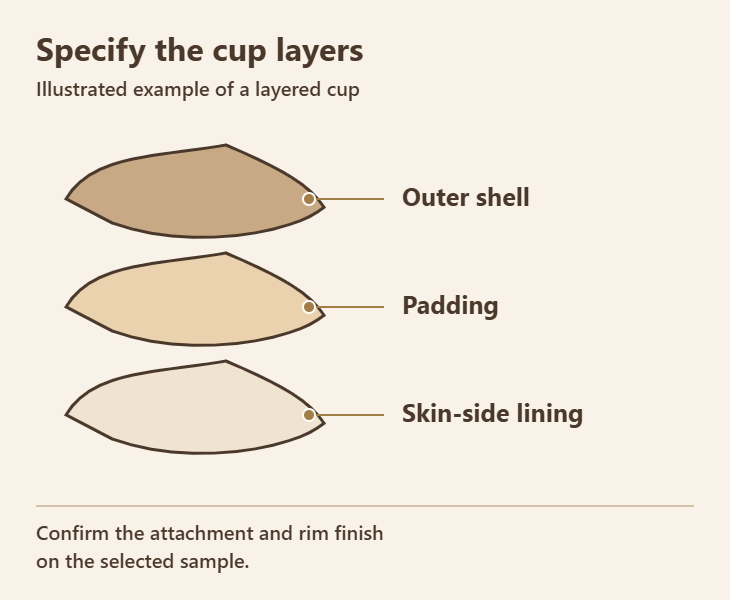
Give us a reference sample or tech pack and the coverage you want. We can review these details before we develop your cup.
Set the pad type and whether the cup itself is moulded on separate lines of your spec. A shaped insert can sit inside a separately constructed cup. We’ll check which combination suits your sample.
If you want the pad held in place, check how it is secured and where it meets the lining. Review the transition at the rim and ask for a care check if pad movement matters to your range.
If a pocket is feasible, check its opening and where it holds the insert. Fit the same cup with and without the insert to see how each setup affects coverage and the rim.
A pre-shaped insert and a moulded inner cup are different components. Confirm which part gives the cup its shape and check its profile and the thickness at the rim.
Keep each reading tied to its sample revision and size.
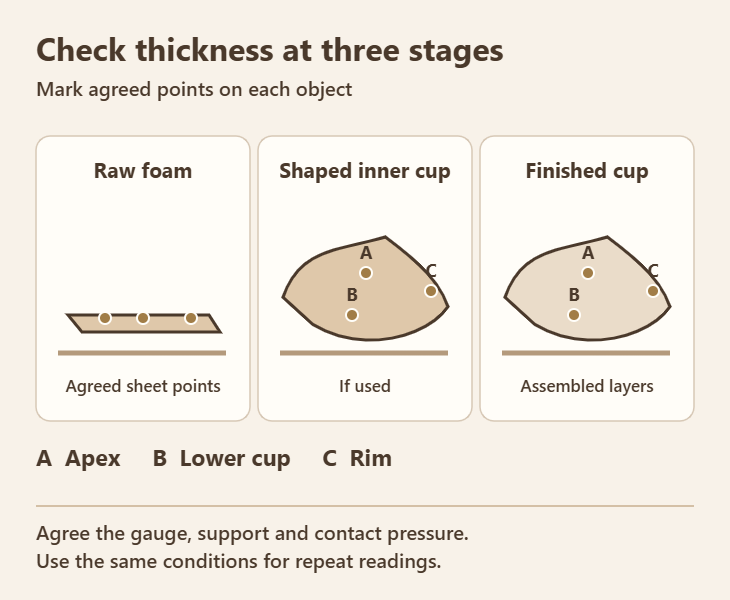
Agree the unit, gauge, support and contact pressure for each stage. Compare readings taken on the same object under the same conditions.
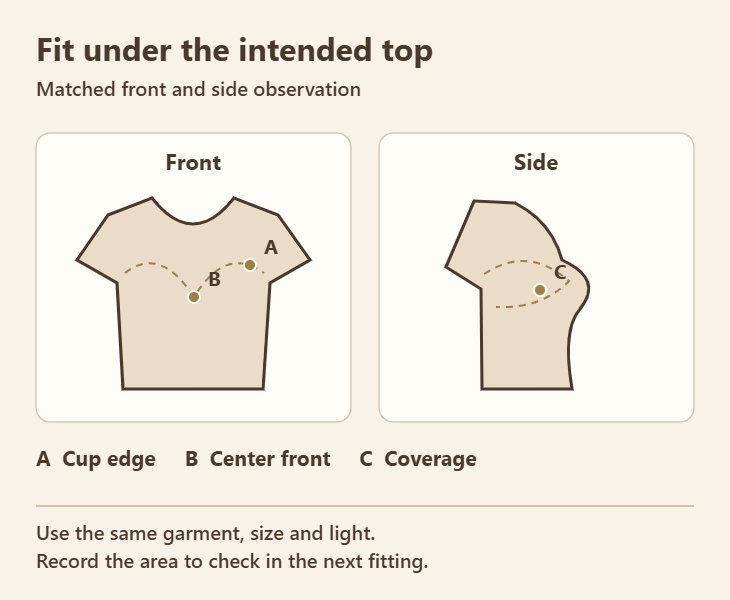
Use the intended garment and a representative size. Keep the fabric color, light and front and side angles consistent when you compare samples.
Record which area needs a change so the next fitting can check the same spot.
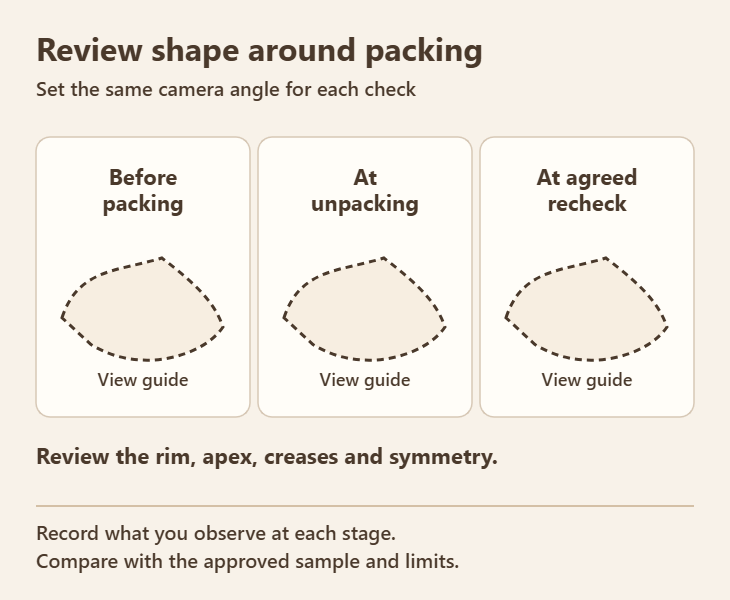
Photograph both cups before packing. Use the intended fold or nesting, supports and carton load, then record how long the sample stays packed.
Take matching views as soon as you unpack it and again at the agreed time. Compare the cup profile, rim, creases and dents on both sides. Use the approved sample and the agreed limits to decide whether the packing needs adjustment.
You can ask for a reference before ordering. After your purchase order, we develop the fit sample against the agreed brief and use each approval to prepare the next stage.
Confirm the cup layers, thickness points and coverage in your base size under the target garment.
Compare representative band and cup sizes. Check the rim and coverage where the cup shape or size changes.
We prepare bulk materials once you approve the size set. Match the shell, foam and lining to the approved specification.
Sign off the sample revision, material references, cup measurements and tolerances, and packing method. Production begins after approval. Agree how material or mould changes will be signed off.
GM’s production process includes a manual final inspection. If the order calls for a batch comparison, use the approved sample to check thickness, rim finish, cup shape and symmetry in the agreed sample selection.
Set the inspection method, sampling standard and record delivery date in the order. If you need records before shipment, set that review point and allow time for any recheck. Agree whether the record includes lot, style, color and size, sample count, approved revision, measurements, photos, findings and corrective actions.
See our sample room, cutting area, sewing workshop and final inspection area.
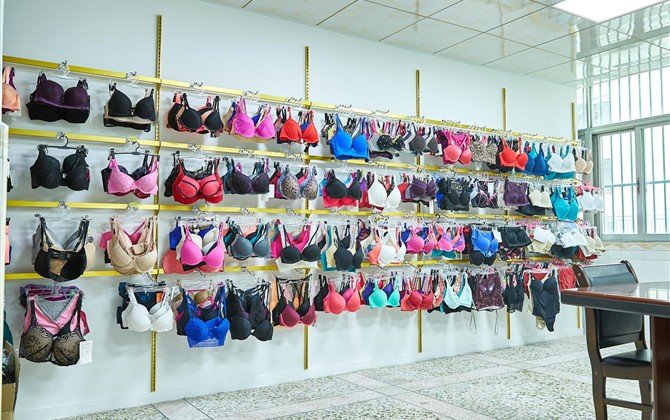
We use your tech pack or reference sample to develop a cup you can check for coverage, thickness and neckline fit.
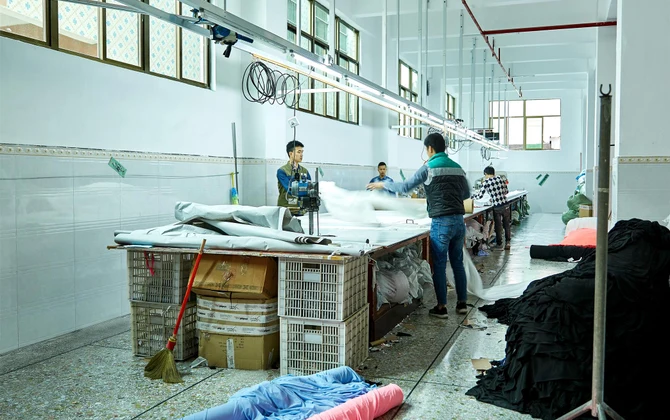
We inspect and relax the fabric before cutting. Confirm the cup and lining materials before we prepare your panels.
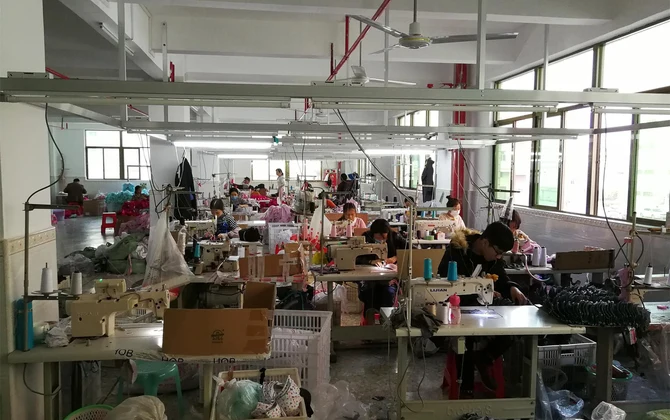
Your approved sample gives our workshop a reference for how the cup, lining and rim should come together.

Agree the cup, rim and key measurements you want checked against the approved sample before packing.
Specify how the padding is held in place, then state its shape and whether the cup itself is moulded. We’ll confirm which build can be sampled for your coverage, rim finish and care requirements.
List separate readings for raw foam, a moulded inner cup if used, and the finished cup. Mark the apex, lower cup and specific rim points on the sample drawing. Agree the gauge, contact pressure, support and tolerances for each object.
We can review that on a fit sample. Send your target neckline and a cup that shows the coverage or profile you want. Define light padding by the agreed thickness profile and check the cup under that garment in a representative size.
Fit it under the intended top in the chosen color and size. Use the same lighting and angles for comparisons. Record the cup edge line, any center-front exposure and the coverage or show-through across the cup as three separate observations.
Use the planned packing and save a before-packing view. Compare both cups immediately after unpacking and at the agreed time. Check the cup profile and rim for dents, folds or left-right differences. The acceptable result is set on the project.
Approve the fit sample and then a size set for your representative band and cup sizes. We prepare bulk materials after size-set approval. The pre-production sample confirms the production layers, measurements and packing before you release bulk.
Link the approved sample revision to the cup pattern or mould reference, cup materials and named measurements. Use the agreed lot sample to check thickness, rim shape and symmetry. If a component changes, agree what to recheck and who approves it.
Set the review date when you agree the inspection plan. If you need the record before shipment, agree the finished or packed stage, who supplies it and the time for corrections or rechecks.
Agree the style, lot, colors, sizes, sample count and approved version. Where relevant, add the thickness readings, edge and symmetry photos, unpacking conditions, defects and recheck results. Your order defines the sampling and reporting scope.
Ask which existing style is available as a free reference sample and confirm shipping terms. If you need a different cup build, foam or edge, we’ll quote the custom sample scope, fee and timing for your brief.
Share a sample, photo link or tech pack, along with the outer garment, coverage target and the cup details you want to change. Add planned band and cup sizes, quantities by style and color, and your target delivery date for a quote.
We’ll confirm the MOQ basis and quote sampling, production and estimated delivery for your design.